
How to Move Audio in Audacity
Editing a podcast typically requires some amount of editing and breaking up clips of your podcast. You might need to rearrange them chronologically, mix up the order, etc.
In this guide, we'll show you how to move clips in Audacity and piece sections of audio together, so they flow into one seamless episode.
JUMP TO A SECTION:
Option #1. Move clips horizontally
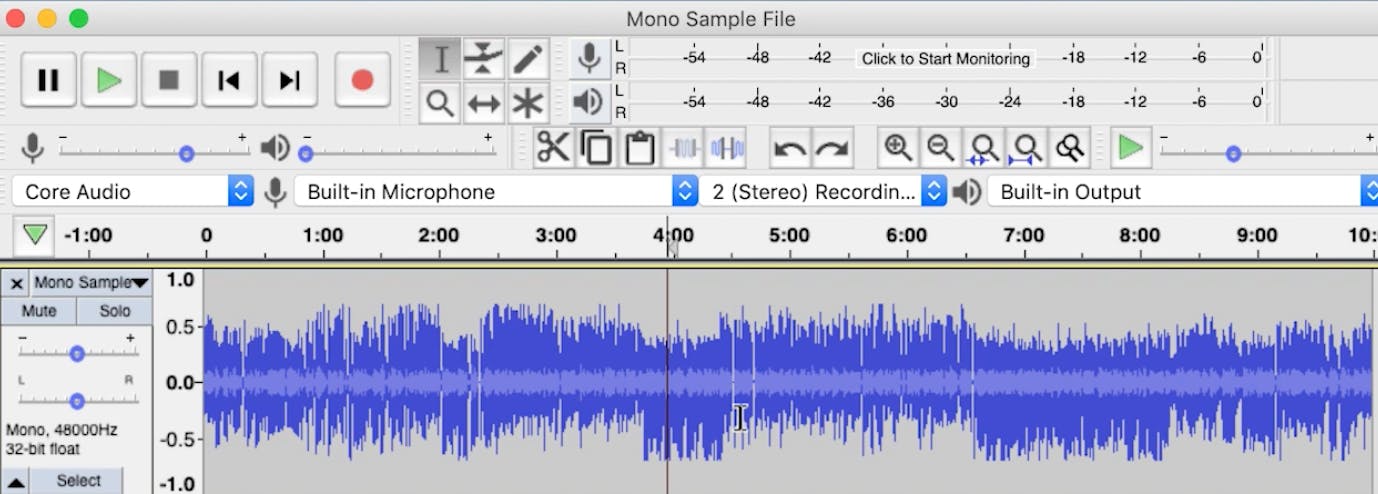
First, open Audacity and start an audacity project. Then, import audio and you'll notice the waveform appear on the Timeline.
All your tracks appear on this Timeline and can move to the right or the left using the Time Shift Tool. The Time Shift Tool allows you to shift the point in time where an audio file starts playing.
First, take your Selection Tool and isolate the portion of audio you want to move. You can double-click to select an entire track or clip.
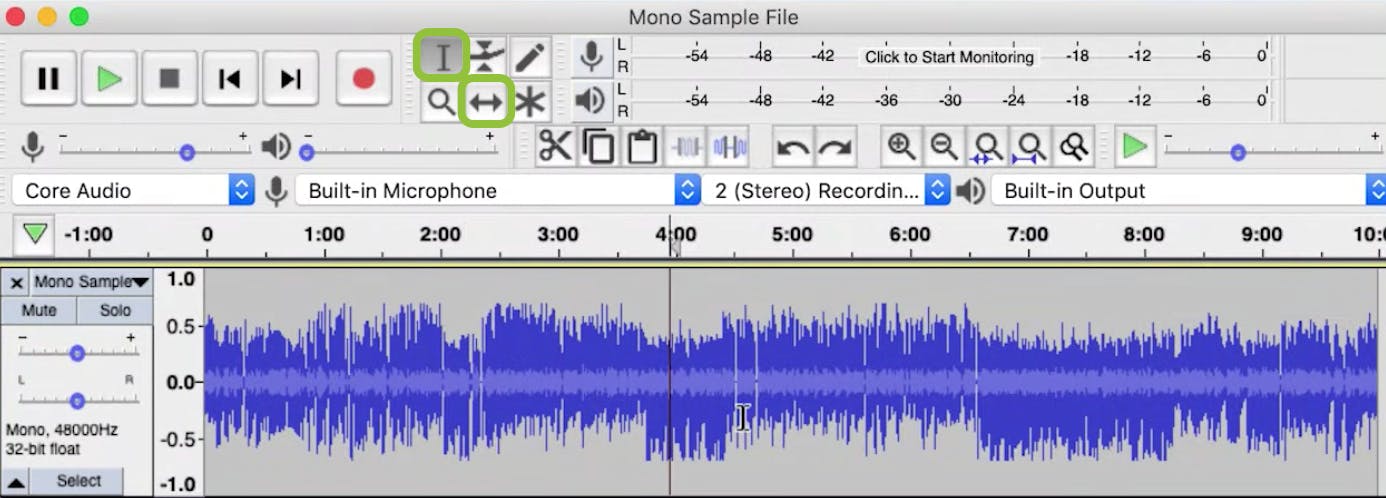
Now you can select the Time Shift Tool, which is the icon with the bidirectional arrows in the top toolbar.
Move the clip back and forth on the Timeline with your cursor to adjust the waveform to a specific time point.
For example, you can adjust the waveform to start exactly at the one-minute mark, so it starts playing one minute into the episode.
Pro tip: It helps to zoom in on your clip Cmd + 1 (or Ctrl + 1) so you can configure your tracks more accurately.
Option #2. Move clips up and down
When working with multiple tracks, you'll need to move your audio clips up and down on their separate track. You might want to do this with background music, voiceovers, interview segments, etc.
First, you'll need to create a new track. To add a new track, go to the top toolbar and select Tracks > Add New > Mono Track.
With the Time Shift Tool still selected, click on a track or clip, drag it down, and align it with the top clip so it starts playing when the segment before it ends.
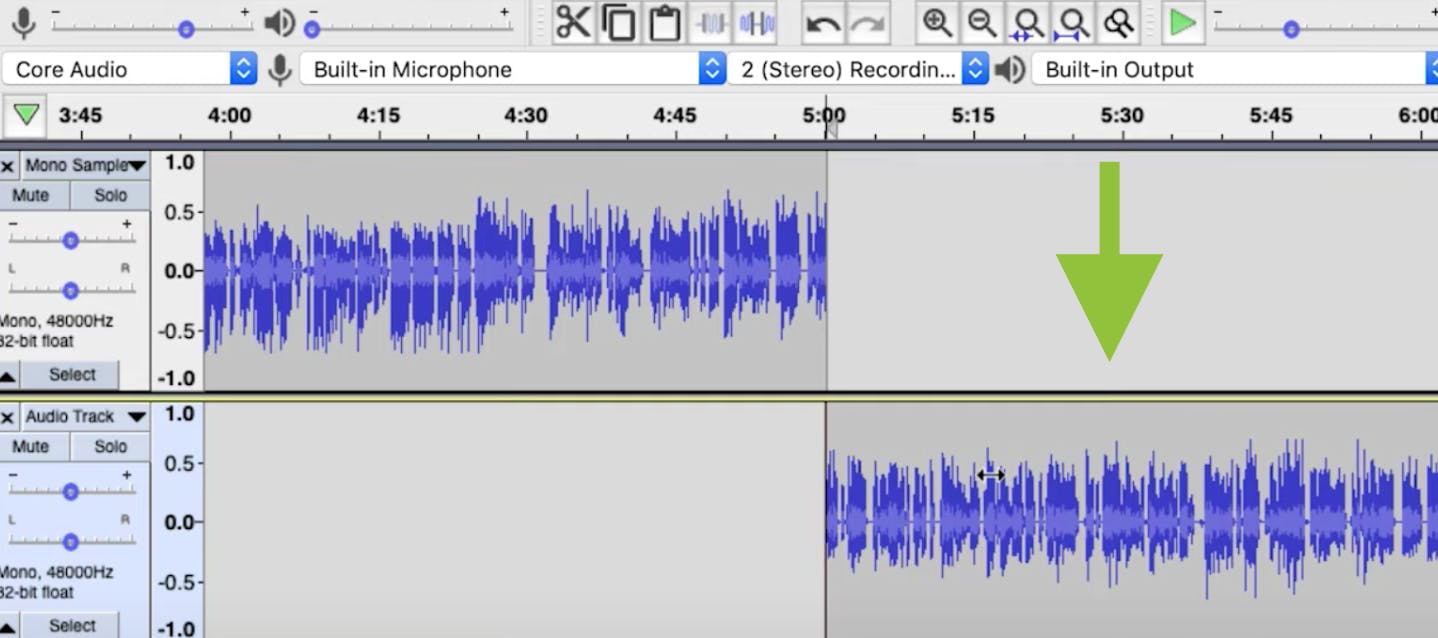
Note: You can only move mono clips to mono tracks and stereo clips to stereo tracks.
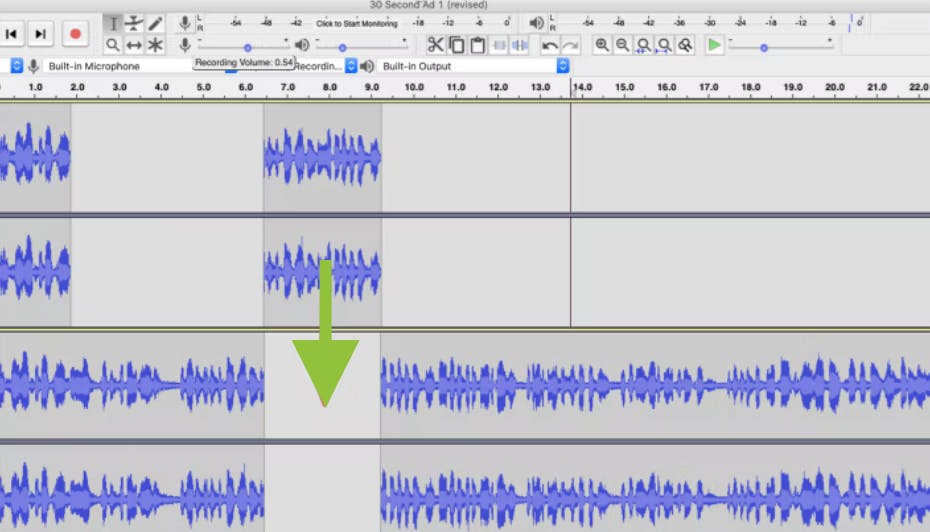
How to create space for a clip
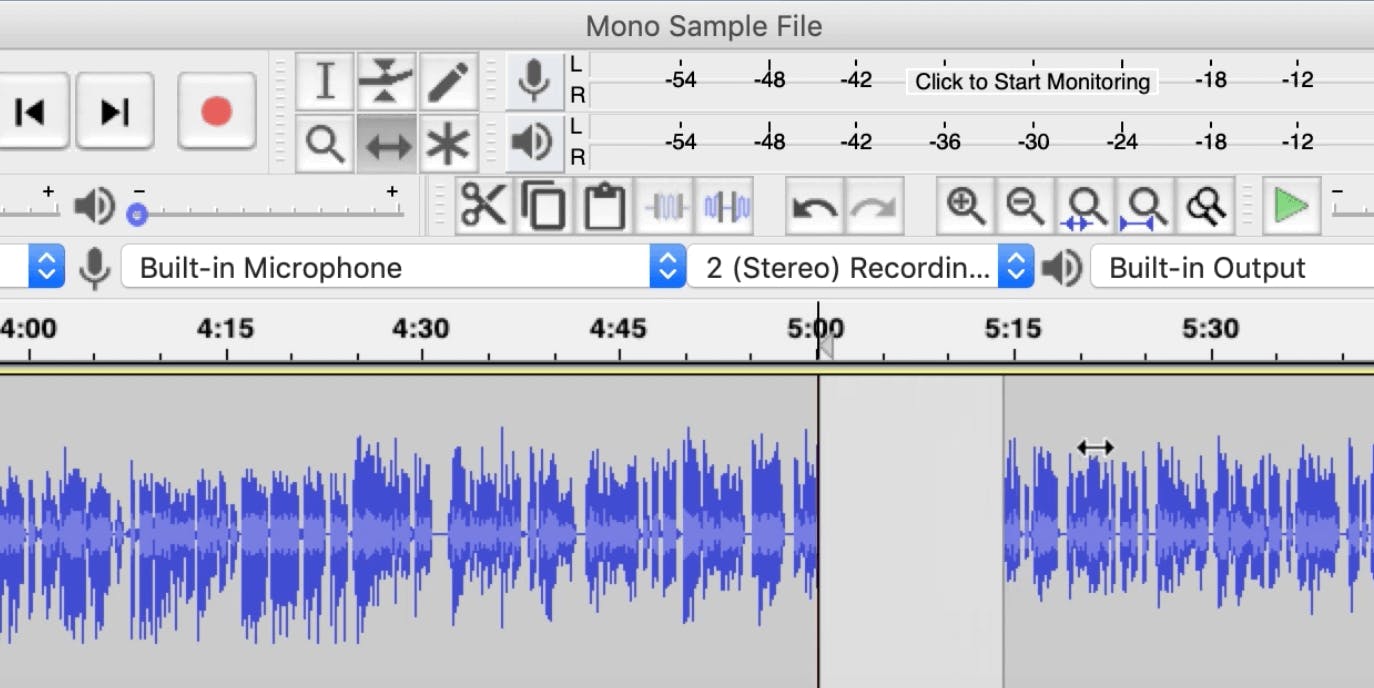
While you can use the Time Shift Tool to place a single clip between tracks, you have to create room for it by splitting tracks, or else the clip won't have a place to move.
To create space for a clip, remove the selected audio by going to Edit > Remove Special > Split Cut. You can also press Ctrl + x on your keyboard. Now, you can use the Time Shift Tool to drag the clip up into the blank space.
If you don’t want to use the effect menu, you can use keyboard shortcuts to paste a clip in the middle of a track instead.
Just select the audio you want to move and press Cmd + C (or Ctrl + C) to copy it. Then, take the Selection Tool, choose the time point on the track to move the clip, and press Cmd + V (or Ctrl + V).
You might need to play the track several times and make adjustments to the clips to ensure smooth transitions. Just press the play button (or your spacebar) for quick playback.
How to split tracks into individual clips
If you want to split up an audio recording into smaller segments, grab the Selection Tool. With this tool selected, you can choose a point on the Timeline where you want to split the clip into two different segments.
Once you highlight your selected audio segment, go to Edit Menu > Clip Boundaries > Split, or press Cmd + I (or Ctrl +I) to split the audio clip.
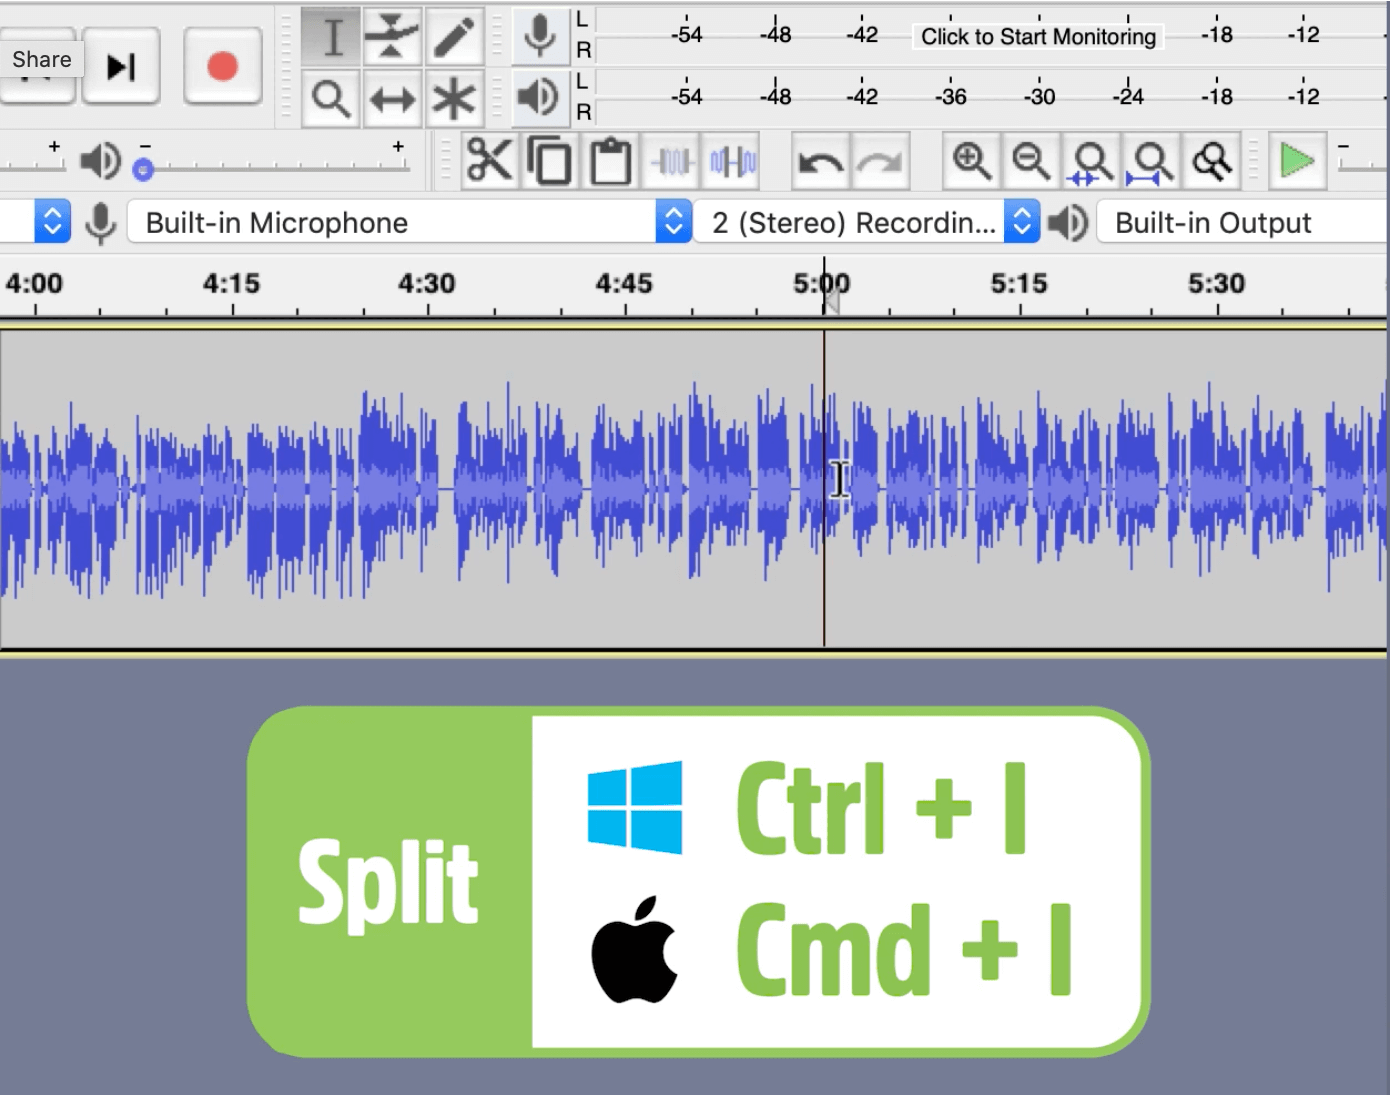
If you go back and reselect the Time Shift Tool and return to the waveform, the second half of the track is its own clip that can move independently.
To delete a section of audio, use the Selection Tool to highlight the unwanted clip, and go to Edit > Remove Special > Split Delete.
This function will delete the highlighted segment and leave a gap in its place. If you don't want a gap where the audio clip once was, you can press the Delete key on your keyboard.
More Audacity tutorials
Audacity is a popular open-source tool for editing audio on Mac, Linux, and Windows, and is widely used by podcasters.
These tutorials can help you get more comfortable so you can use Audacity to edit your own content!

Alban Brooke
Alban Brooke is the Head of Marketing at Buzzsprout and the co-host of Buzzcast. Have any questions about this guide? Reach out on Twitter.